Here you’ll find trends and budget-friendly, easy healthy recipes from around the world using whole foods. We focus on healthy dinners and rich desserts. Life is a balance!
Recent Easy Recipes
- 25+ Easy Healthy Dinner Recipes for Two15 Minutes
- 15 Best Birthday Dinner Ideas25 Minutes
- 20 Best Easter Dinner Ideas1 Hours 5 Minutes
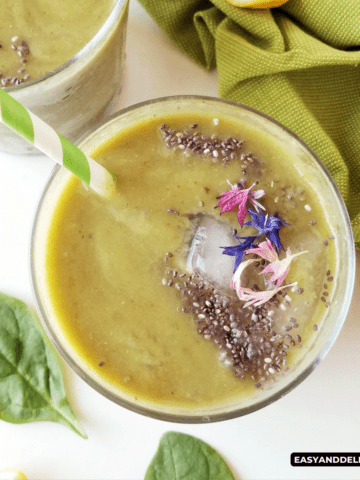
- Shamrock Protein Shake5 Minutes


Trending Recipes
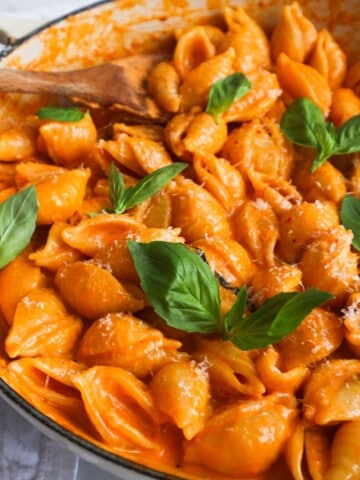
- Gigi Hadid Pasta (Spicy Vodka Pasta)25 Minutes
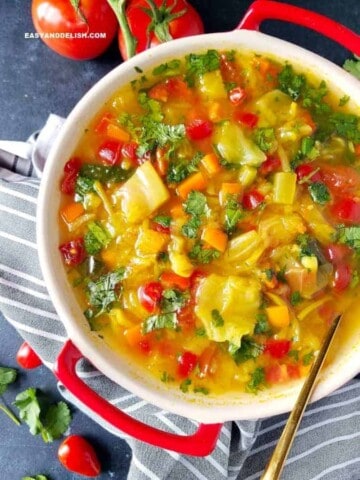
- The BEST Cabbage Soup Diet Recipe and 7-Day Diet Plan (PDF)30 Minutes
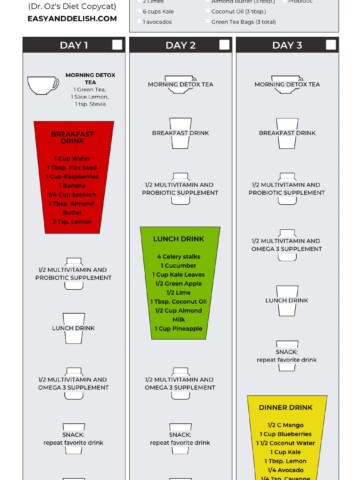
- 3-Day Juice Cleanse10 Minutes
- Sausage Pasta Recipe28 Minutes
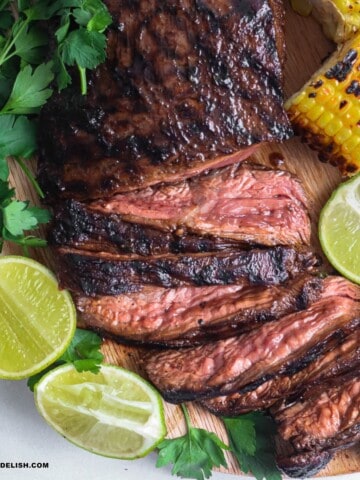
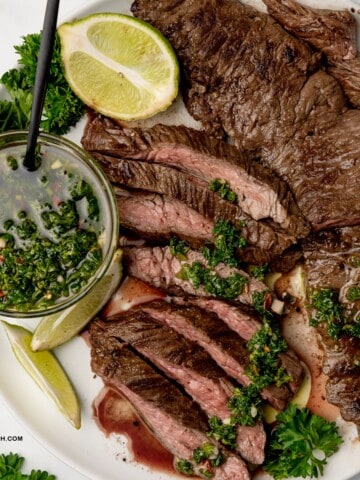
- How to Grill Flank Steak (And How Long)20 Minutes
- How to Cook Skirt Steak10 Minutes
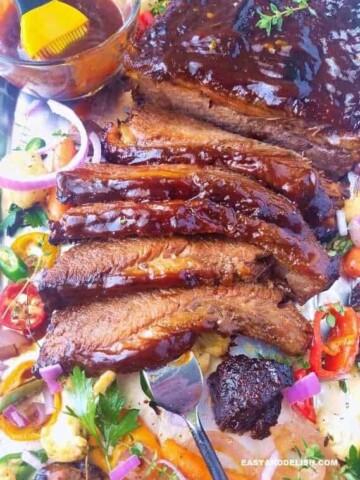
- Easy & Juicy Beef Brisket Recipe
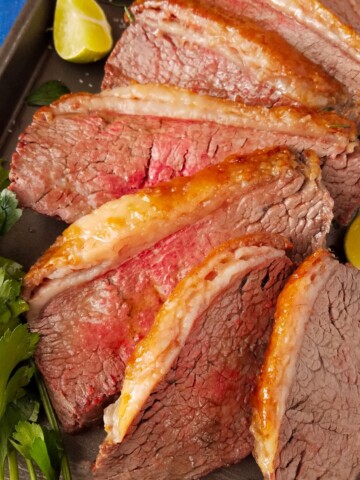
- Picanha Roast: Tender & Juicy (with Video)1 Hours 25 Minutes
- 21 High-Protein Meal Preps for Lunch30 Minutes
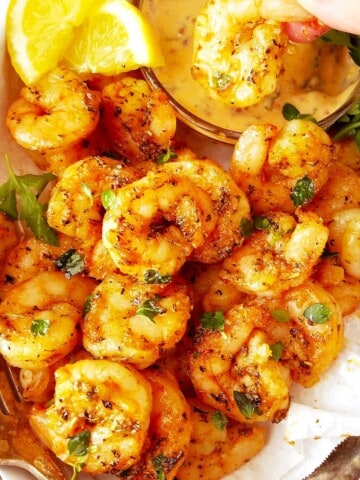
- Air Fryer Shrimp (from Frozen or Fresh)15 Minutes
- Reese Witherspoon Green Smoothie10 Minutes
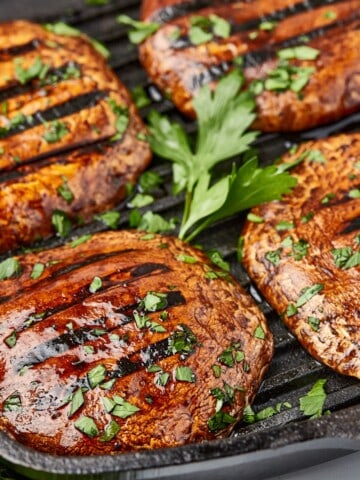
- Mushroom Steak30 Minutes


Seasonal Recipes
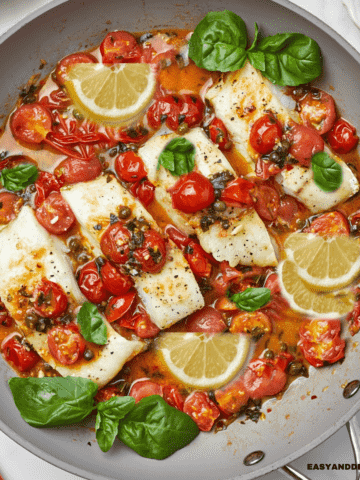
- Italian Baccala Recipe30 Minutes
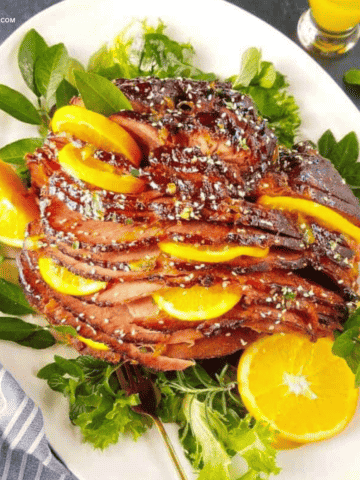
- Slow Cooker Ham3 Hours 40 Minutes
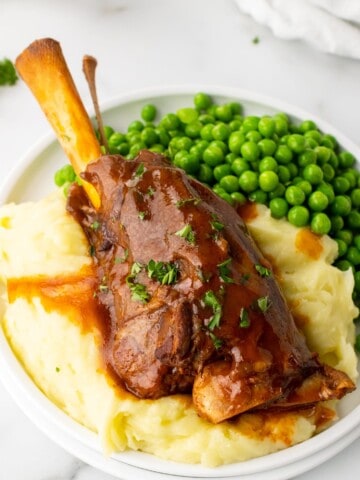
- Braised Lamb Shanks (Slow Cooker)8 Hours 20 Minutes
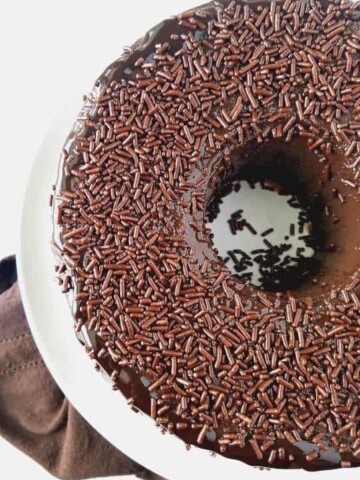
- Easter Bundt Cake1 Hours 10 Minutes

SEARCH EASY RECIPES BY DIET


SEARCH EASY RECIPES BY COURSE


SEARCH EASY RECIPES BY TYPE


About Chef Denise
I'm Denise Browning, the author of this blog, a chef with almost 2 decades of experience, a nutrition researcher, and cookbook author. Here you’ll find easy and delish healthy meals with some occasional splurges.
POPULAR EASY DINNER RECIPES


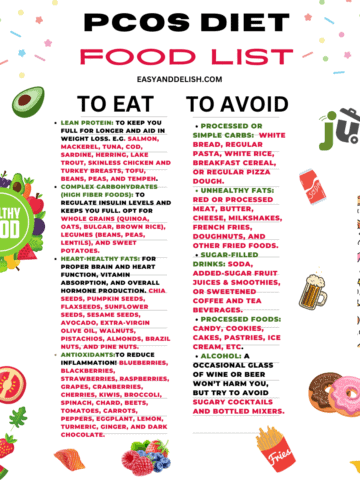
WEIGHT LOSS RECIPES
Brazilian Recipes
Brazilian dishes are some of the most satisfying and delicious in the world! Explore our large collection of Brazilian recipes-- both traditional Brazilian food recipes as well as modern takes on Brazilian cuisine from a native Brazilian.
- Brigadeiro Recipe -- The Best Chocolate Fudge Balls Ever30 Minutes
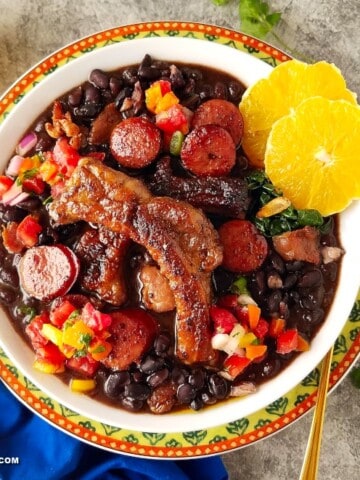
- Feijoada Recipe (Brazilian Black Bean Stew)1 Hours 30 Minutes
- Brigadeirao (Brazilian Chocolate Fudge Flan)50 Minutes
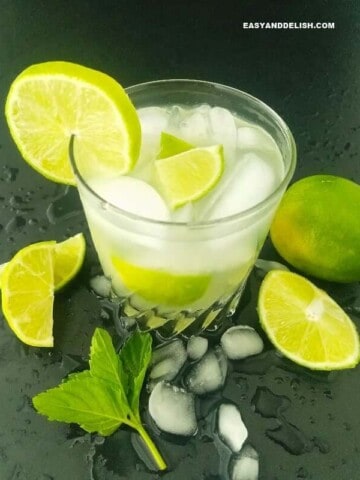
- Caipirinha Cocktail10 Minutes
- Brazilian Cheese Bread (Pão de Queijo Recipe)28 Minutes
- Moqueca (Authentic Brazilian Seafood Stew Recipe)30 Minutes
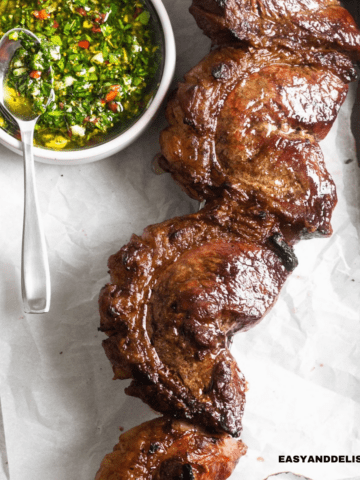
- Grilled Picanha Steak30 Minutes
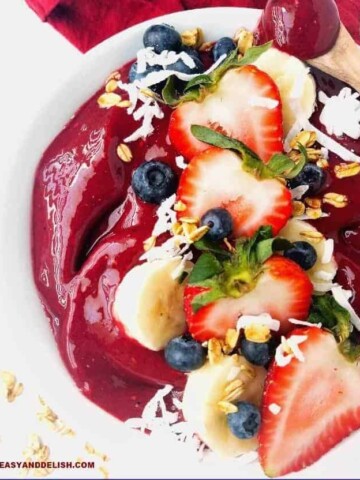
- Acai Bowl Recipe (Açaí na Tigela)5 Minutes
- 50 Easy Brazilian Recipes You Must Try1 Hours


How-To
Find out how to easily cook various foods and master the cooking techniques to get them right every time. You will find basic cooking methods, more advanced cooking tips, and kitchen hacks that will blow your mind.
- How to Grill Flank Steak (And How Long)20 Minutes
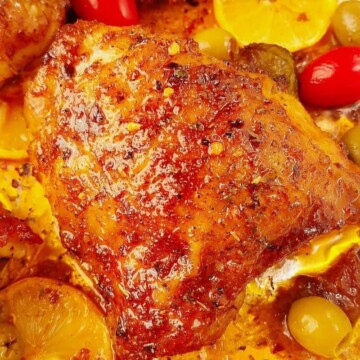
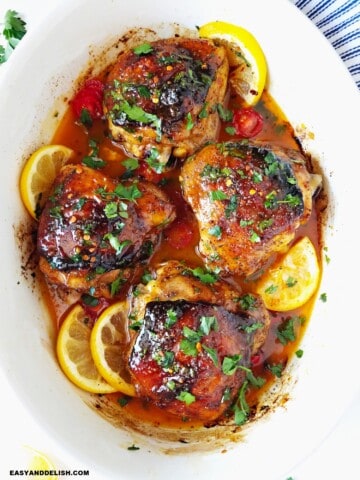
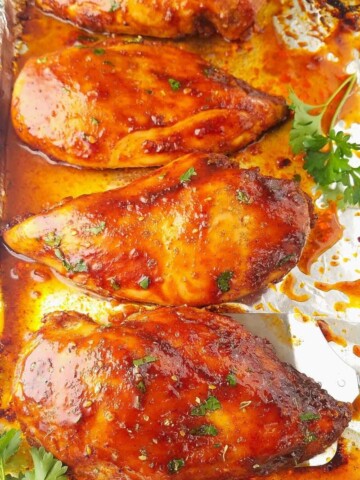
- How to Bake Chicken Thighs (and How Long)45 Minutes
- How to Bake Chicken Breast (and How Long)30 Minutes
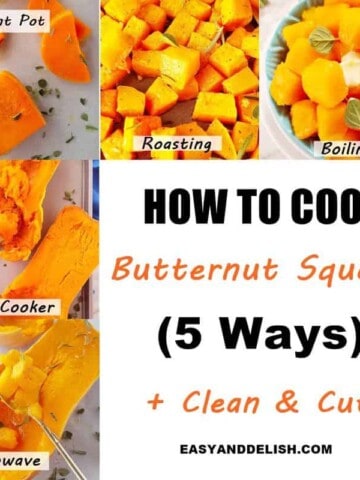
- How to Cut, Peel, and Cook Butternut Squash (5 Ways)16 Minutes
- How to Cook Brussels Sprouts (6 Ways)30 Minutes
- How to Make an Omelette Easy (3 Ways)7 Minutes
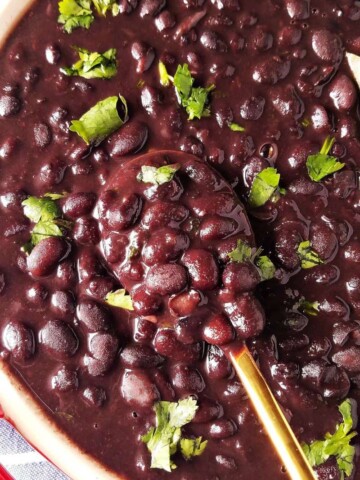
- How to Make Black Beans (2 Ways)1 Hours 40 Minutes
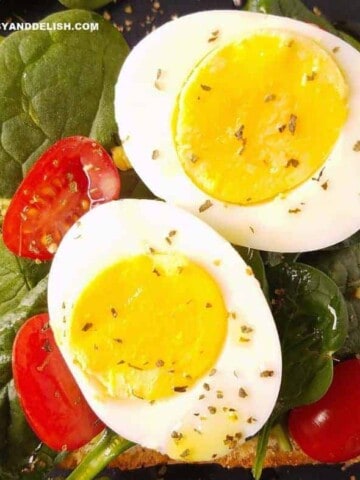
- How to Hard Boil Eggs (3 Ways)12 Minutes
- Sunny-Side Up Eggs3 Minutes
- How to Cook Skirt Steak10 Minutes
- How To Make Sweetened Condensed Milk Frosting with One Ingredient (Leite Condensado de Colher)2 Minutes
- How To Make French Toast (2 Ways)19 Minutes


Resources
Browse cooking 101 articles, ingredients, complete guides, traveling, and more. They are great resources for what you are looking for!
- 85+ Easy Freezer Meals To Make Ahead on a Budget30 Minutes
- 70 Best One-Pot Meals for Dinner
- 30 Quick and Easy Low Carb Dinner Recipes (Less than 400 Calories)
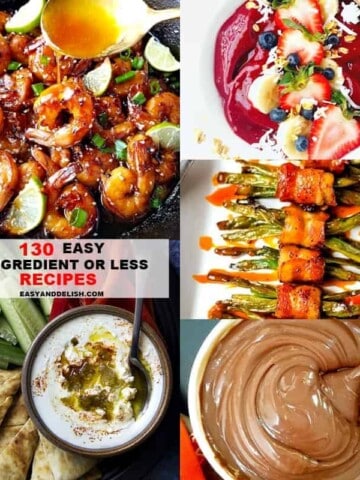
- 130 Easy 5-Ingredient or Less Recipes
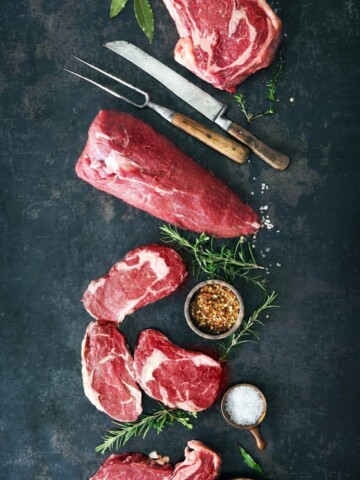
- Meat Cuts of Beef (United States and Brazil)
- Grocery List of Brazilian Food Products with their American Substitutes
- Types of Cooking Methods to Make You a Better Cook
- How does a Pressure Cooker Work? (Guide & Recipes)
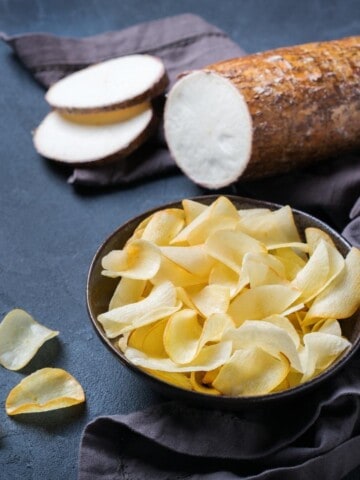
- Cassava (Yuca): What is, Benefits, How to Cook It, and More25 Minutes
- Tapioca: What is, Substitutes, and Recipes
- Brazilian Holidays: A Yearly Calendar
- 30 High-Fiber Recipes30 Minutes
- 30 Gut Healthy Recipes15 Minutes
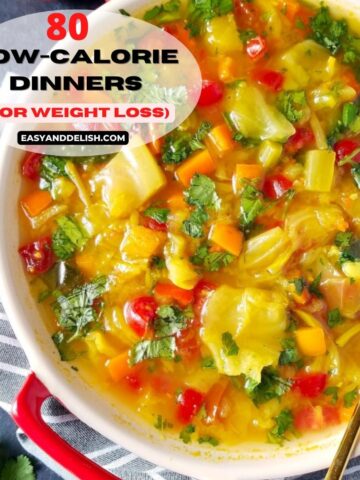
- 80 Low-Calorie Dinners25 Minutes
- 55 Easy Beef Recipes for Dinner20 Minutes
- 70 Easy Chicken Recipes for Dinner30 Minutes